Setting up your first webserver can be a tough task if you don’t know where to begin. This guide will show you how to create the most basic LAMP server with either PHP5 or PHP7 on a Ubuntu server.
This guide assumes you already have Ubuntu (14.04 LTS) set up and you’re able to access it either directly or through SSH and it is connected to the internet. If you don’t, the easiest way to create a Ubuntu server is using VirtualBox.
Installing Apache
Apache is probably the most popular and easy to configure webserver. Since it’s so easy to set up as a multi-user environment using virtual hosts, almost every shared host you will encounter will be running Apache. It has its downsides ofcourse. It can’t handle as many concurrent connections as NGINX and will easily eat up all your memory, while eventually crashing. Today is not about performance though, it is about setting up a webserver with the least amount of effort.
Installing Apache on a Ubuntu server is as easy as running the following command:
$ sudo apt-get install apache2
Confirm by pressing “Y” and it will be installed and running in mere seconds.
When it’s done it’s time to see the result of this simple action by going to either `localhost` in your browser or your server’s public ip address. If everything went correctly, you will be greeted with the following welcome page:
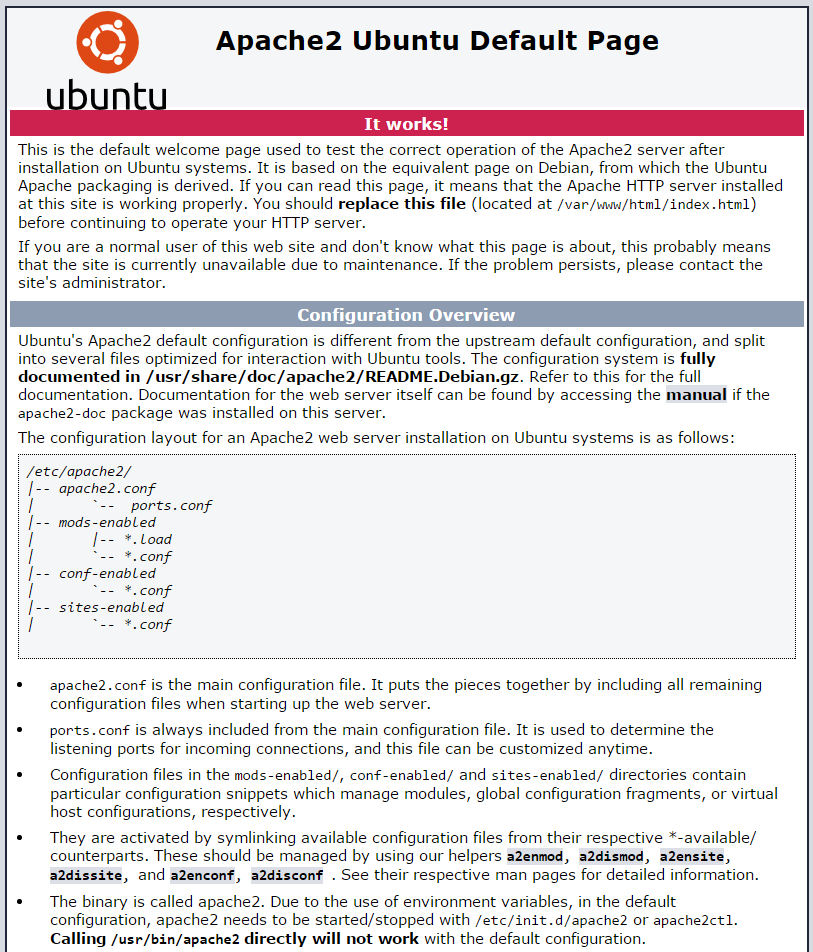
Congrats! Your server is now ready to serve basic documents like HTML. You can decide to read this page to learn more about Apache. It certainly won’t hurt.
Of course we want to be able to server more than just plain HTML. That’s where PHP comes into play. PHP will allow you to serve dynamically generated documents and create almost any website you’d want. But before we rush into that, let’s first install MySQL server. Your dynamic website won’t be nearly as dynamic without being able to fetch data from a database.
Installing MySQL
Installing MySQL is almost as easy installing Apache. You will have to fill in some basic configuration, but that’s it. Start by executing the following command:
$ sudo apt-get install mysql-server
Confirm again by pressing ‘Y’ and you will soon be prompted by the following message:
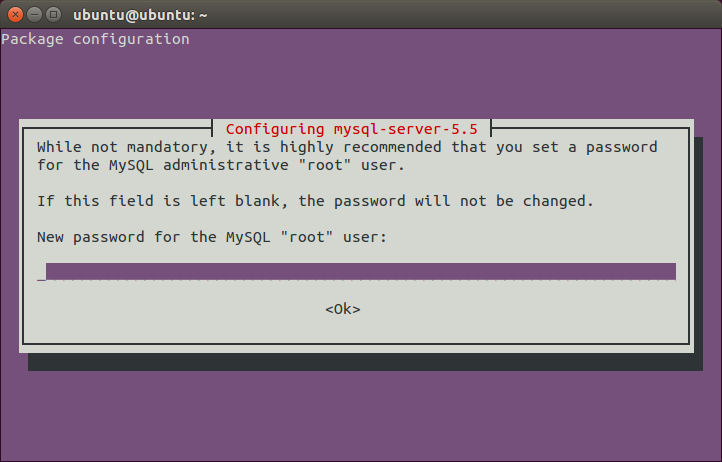
This is where you input the password for the MySQL ‘root’ user. You can choose to leave it blank to use the default password, but I highly recommand creating a password of your own. If your server is accessible from the internet you should use a strong password (12+ characters), since security is not a part of this guide. After pressing Enter you will have to repeat the password after which the installation will finalize itself.
No fancy welcome screen this time around, but you can play around with MySQL by executing the following command:
$ mysql -u root -p
Fill in your previously chosen password and you will be free to execute any queries you’d like.
Installing PHP7
First things first: At the time of writing, PHP7 has just been released and there is no official package available for Ubuntu. This means you will have to install it through an unofficial (but widely used) ppa repository. This is a bit more difficult than just installing the default PHP version for Ubuntu 14.04 (PHP 5.5.9), but you will have the full power of PHP7 at your disposal.
Would you still rather install PHP5? No worries, just skip to the next section to learn how to install PHP5.
To add the ppa repository containing PHP7 to the list of repositories, simply execute the following command:
$ sudo add-apt-repository ppa:ondrej/php
Followed by an `Enter` to confirm adding it. To actually be able to install packages in the repository, you will first have to download the new list of packages. Again, this is as simple as executing the following command:
$ sudo apt-get update
After it’s completed, all the PHP7 packages will be available to be installed. Installing a basic version of PHP7.0 is as easy is installing the `php7.0` package:
$ sudo apt-get install php7.0
Confirm by pressing ‘Y’ and wait until the install is done.
You might have noticed that the Apache module for PHP7 automatically got installed and activated. How convenient. To check if PHP7 actually got installed correctly, execute the following command:
$ php -v
It will show you the current PHP version alongside some other info. Here’s how it looks for me:

All that is left now is to restart Apache to actually be able to use PHP7 for your websites:
$ sudo service apache2 restart
To be absolutely sure Apache is running PHP7, create a `phpinfo.php` file in the web root:
$ sudo vi /var/www/html/phpinfo.php
Add the following content:
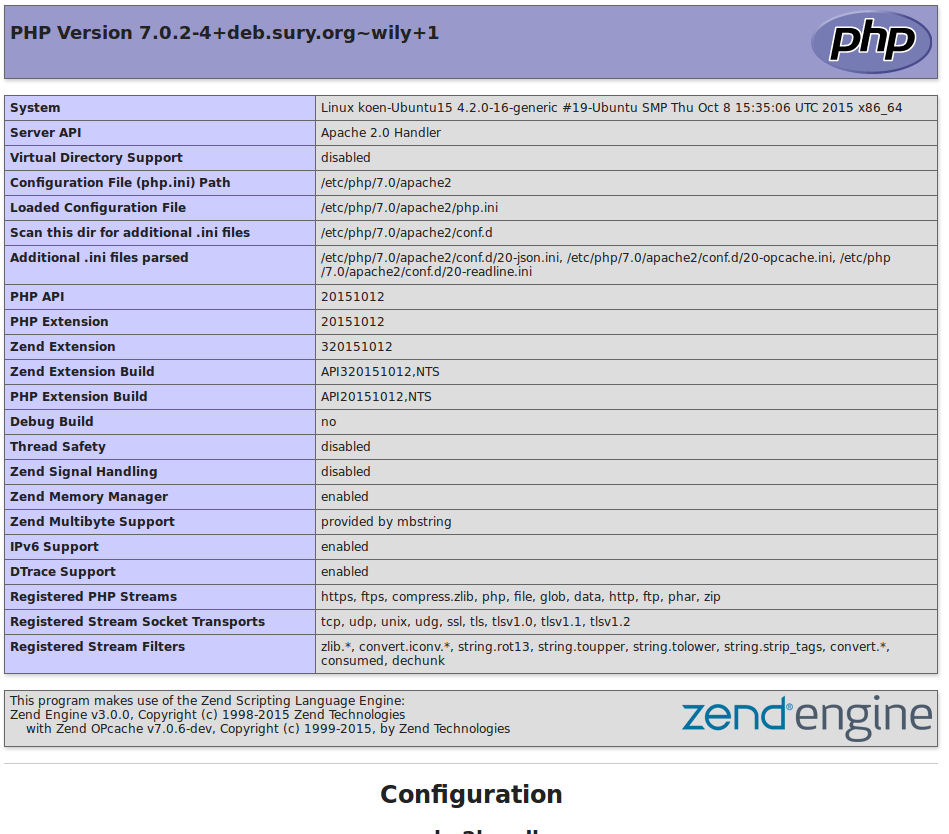
Save it and go to `localhost/phpinfo.php` (or replace `localhost` with your server's ip). You should be greeted by the following screen:
Congrats, you are now among some of the first who are running PHP7.0 on their webserver. The `phpinfo.php` shows a lot of interesting info. But, interesting probably means it can also be used to find vulnerabilities in your system, so it's best to remove the `phpinfo.php` file again, especially if you're on a public server.
Installing PHP5
While PHP7 brings all sort of new goodies (and much needed performance), PHP5.5.9 is just as adequate for your average website. Besides, it's a lot easier to install. To install PHP5 simply execute the following command:
$ sudo apt-get install php5Confirm again by pressing 'Y'. After a while the installation will be complete and you will notice Apache has restarted. To check if PHP has actually installed correctly (it will be), run the following command:
$ php -vIt will show you the currently installed PHP version, which will probably look a bit like this:
And that's it. You have PHP running. To check if Apache is properly configured to run with PHP, simply create a phpinfo script somewhere in the web root (Note: `vi` can be a pain in the ass when you haven't used it before, swap `vi` with `nano` if this is the case):
$ sudo vi /var/www/html/phpinfo.phpAnd add the following PHP code:
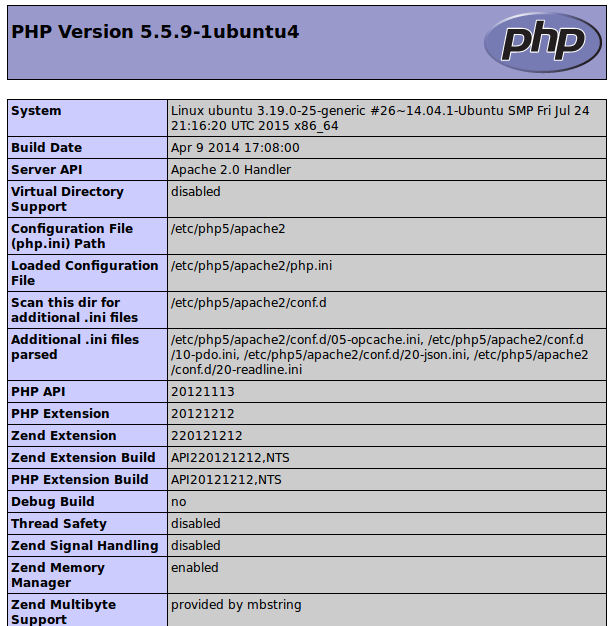
Save it and go to `localhost/phpinfo.php` in your browser. Replace localhost with your server's actual ip address if it is a public server. You will be greeted with the following screen:
Congrats, PHP5 has been correctly installed. This page will actually show vulnerable information about your system, so it's best to remove the `phpinfo.php` again if you're on a public server.
Final words
Now that you've got a basic LAMP stack running, it is time to configure it to your needs. You actually have a very bare-bones version of Apache as well as PHP, of which both have many useful extra available modules. You can leave it as is, but sadly you won't be able to create every imaginable website.
But more on tuning your LAMP stack to your wishes later.
If you're up to a more advanced topic right now though, it might be worth your while reading up on how to set up completely separated Apache virtual hosts environment, with each user running their own PHP7.0-FPM instance. This will give you the one of the best possible performing LAMP setups. If you're a performance geek like I am, I can guarantee you, you will love it.